
How to Enclose a Patio Into a Room Without Breaking the Bank
4083 | Slug: how-to-enclose-a-patio-into-a-room-without-breaking-the-bank---
Your patio is your best employee who's been working outside.
Think about it. This space has been showing up EVERY day -- rain, shine, 107-degree Texas heat. It's been hosting dinner parties, Sunday morning coffees, kids' birthday celebrations, and that one epic Super Bowl watch party where the neighbor brought too many brisket sandwiches. It's been PERFORMING. Reliably. Loyally. Without complaint.
And what's it getting for all that effort? No climate control. No walls. No protection from mosquitoes the size of small helicopters. No insulation when that freak February ice storm rolls through. Your patio has been delivering executive-level results from a folding chair in the parking lot.
It's time for a promotion. Time to bring your best performer INSIDE and give it the corner office it deserves -- four walls, climate control, proper lighting, and a real place at the table.
And the best part? Promoting from within is ALWAYS cheaper than hiring from outside. Enclosing your existing patio costs a fraction of building a new room from scratch. The foundation is already there. The roof might already be there. You're not starting from zero -- you're upgrading what you've already got.
The Promotion Ladder: Four Levels of Patio Upgrade
Not every promotion goes straight to the C-suite. Sometimes you move someone from the parking lot to a cubicle first, then to a private office, then to the corner office. Patio enclosures work the same way -- and your budget determines how far up the ladder you go.
Level 1: The Screen Enclosure (The Cubicle)
Investment: $5,000-$15,000
What you get: A framed screen enclosure around your existing patio. Bugs are OUT. Debris is OUT. You're still dealing with outdoor temperatures, but the usability of the space jumps dramatically.
Best for: Homeowners who primarily use the patio in spring and fall, want pest control, and aren't ready for a full enclosure. It's the first step on the ladder -- low cost, immediate impact, and you can always upgrade later.
What's involved: Aluminum or wood framing attached to existing columns or posts, screen panels, and a screen door. Minimal structural concerns unless you're modifying load-bearing columns.
Level 2: The Three-Season Room (The Private Office)
Investment: $15,000-$35,000
What you get: Real walls with windows, basic insulation, electrical outlets, and ceiling fans. Comfortable from March through November. You'll need a space heater for those few cold weeks, and the July heat might push you back inside for the worst afternoons, but this is USABLE living space for 9-10 months of the year.
Best for: Homeowners who want significant upgraded function without full HVAC investment. Perfect for a home office, reading room, or play space.
What's involved: Framed walls with windows, insulation, electrical work, interior finishing. The existing patio slab becomes the floor (with added flooring over it). Structural evaluation needed to confirm the existing supports can handle wall loads.
Level 3: The Four-Season Room (The Executive Suite)
Investment: $25,000-$50,000
What you get: Fully insulated walls, quality windows, HVAC integration, proper electrical, and finished interior surfaces. This is a REAL ROOM. It's comfortable at 110 degrees and 25 degrees. It counts toward your home's conditioned square footage. It's indistinguishable from any other room in the house.
Best for: Homeowners who want true additional living space -- a family room, bedroom, home office, or dining room that works year-round.
What's involved: Everything from Level 2, plus HVAC ductwork or a mini-split system, higher-quality windows, upgraded insulation, and full interior finishing. Structural work is almost always required -- the existing patio structure needs to support conditioned-space loads.
Level 4: The Corner Office (The Premium Build)
Investment: $50,000-$80,000+
What you get: Premium everything. Folding glass walls that open completely. Custom flooring. High-end lighting. Built-in cabinetry. A space that's not just functional but STUNNING. This is the patio-to-room conversion that makes it into Houzz portfolios.
Best for: Homeowners in premium markets (Park Cities, Memorial, Westlake) where the investment matches the neighborhood value.
*"Wow! Their name says it all. They are most definitely professionals. They took our idea of vaulting our living room ceiling and turned it into reality.
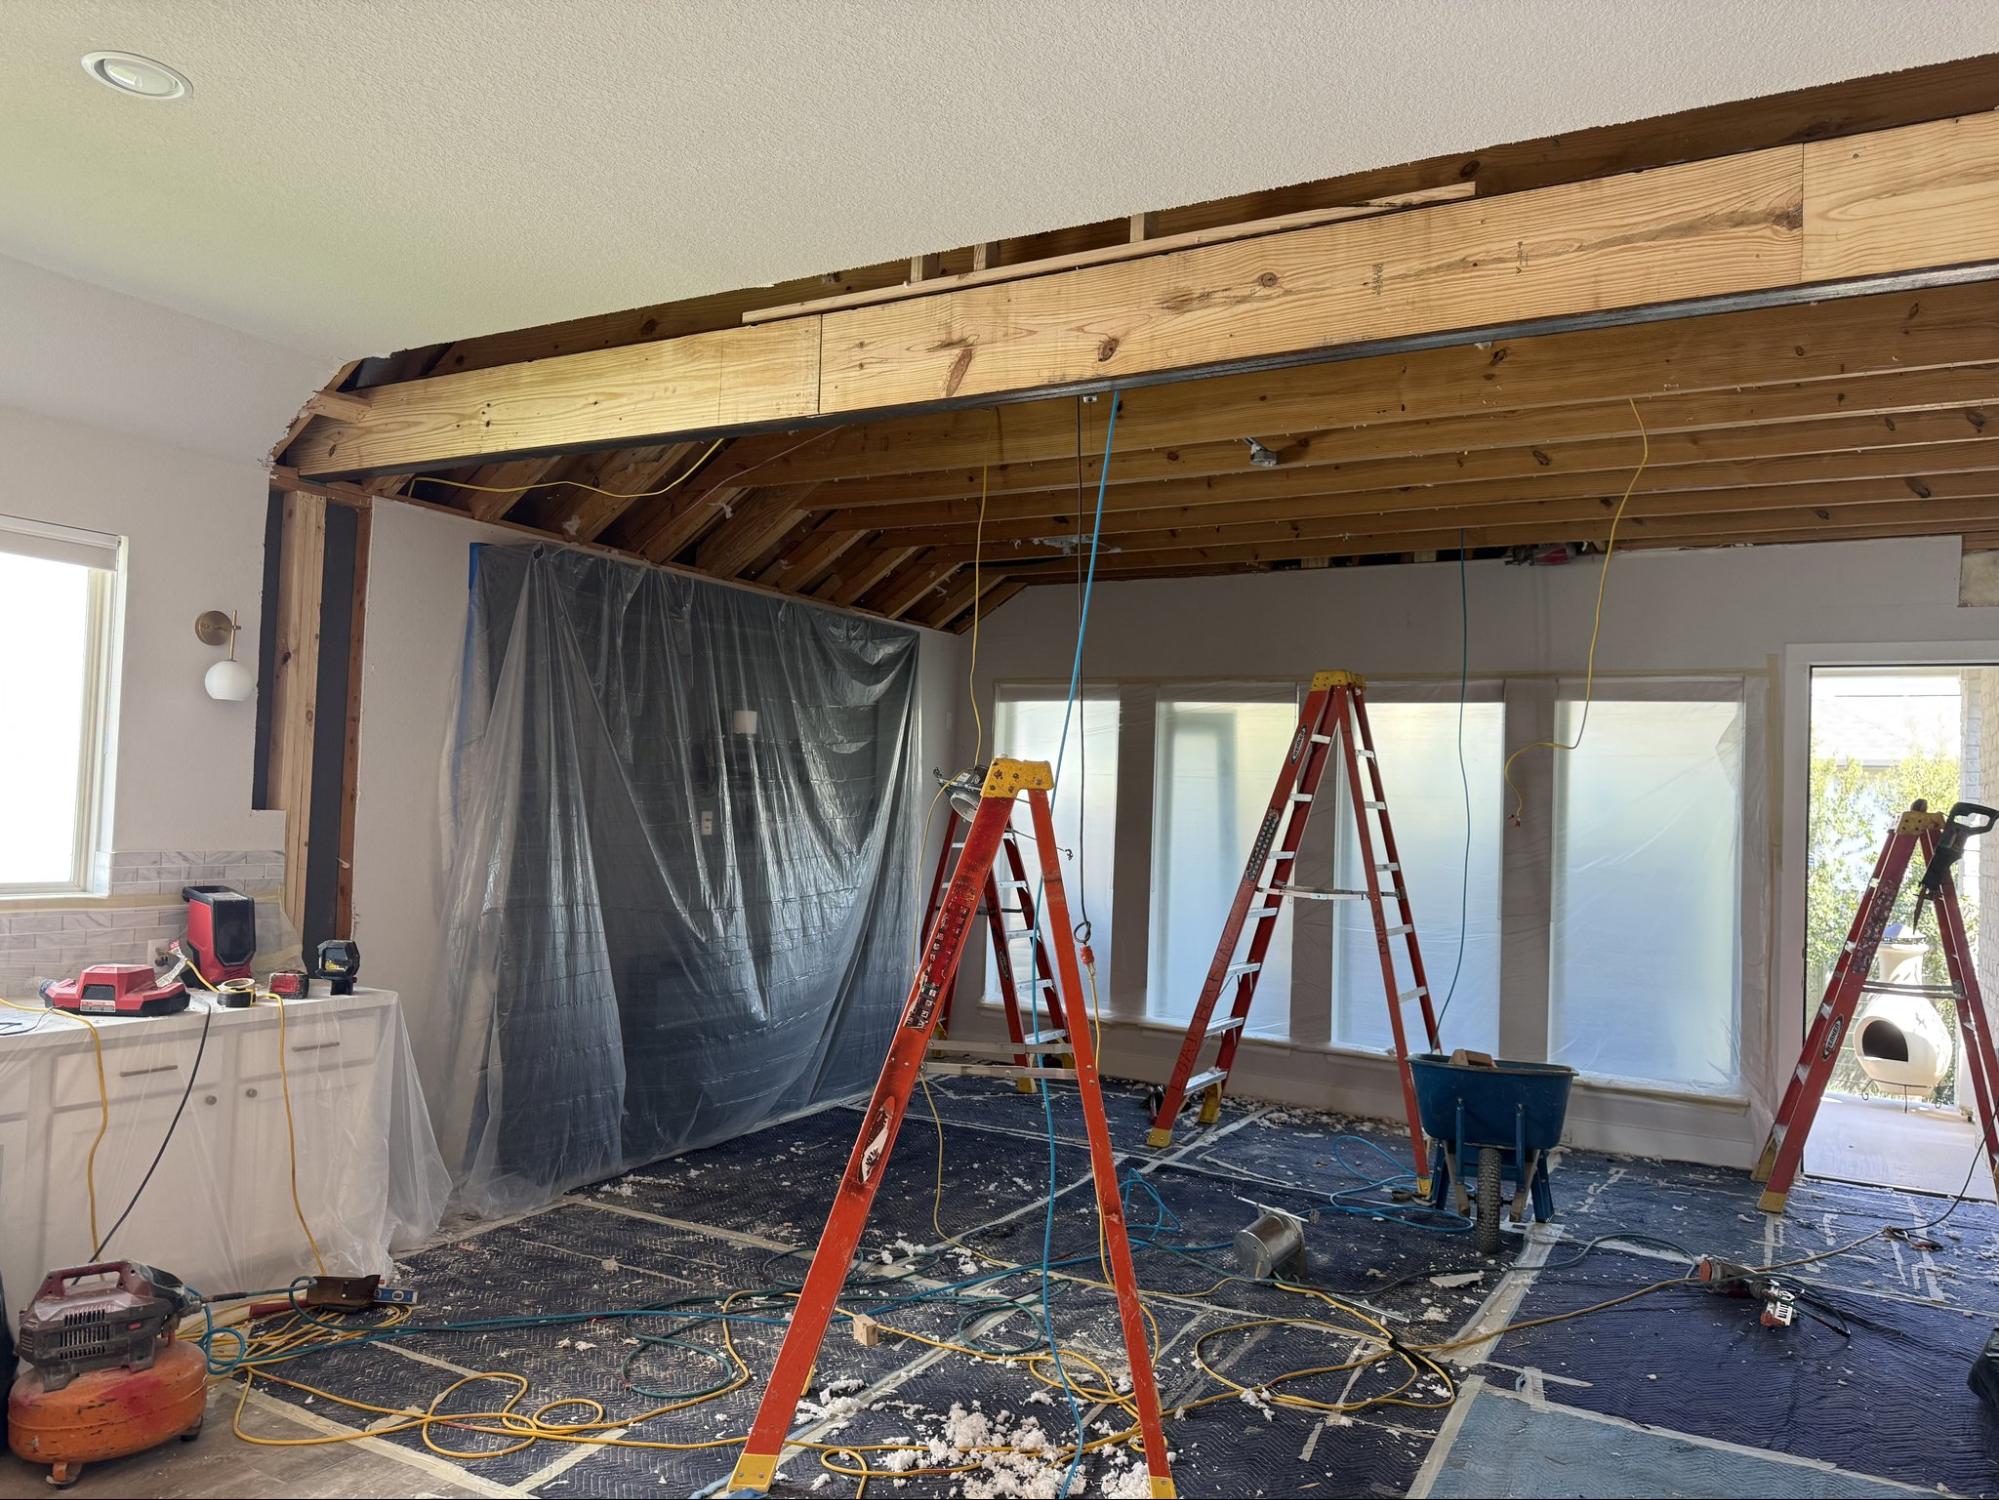
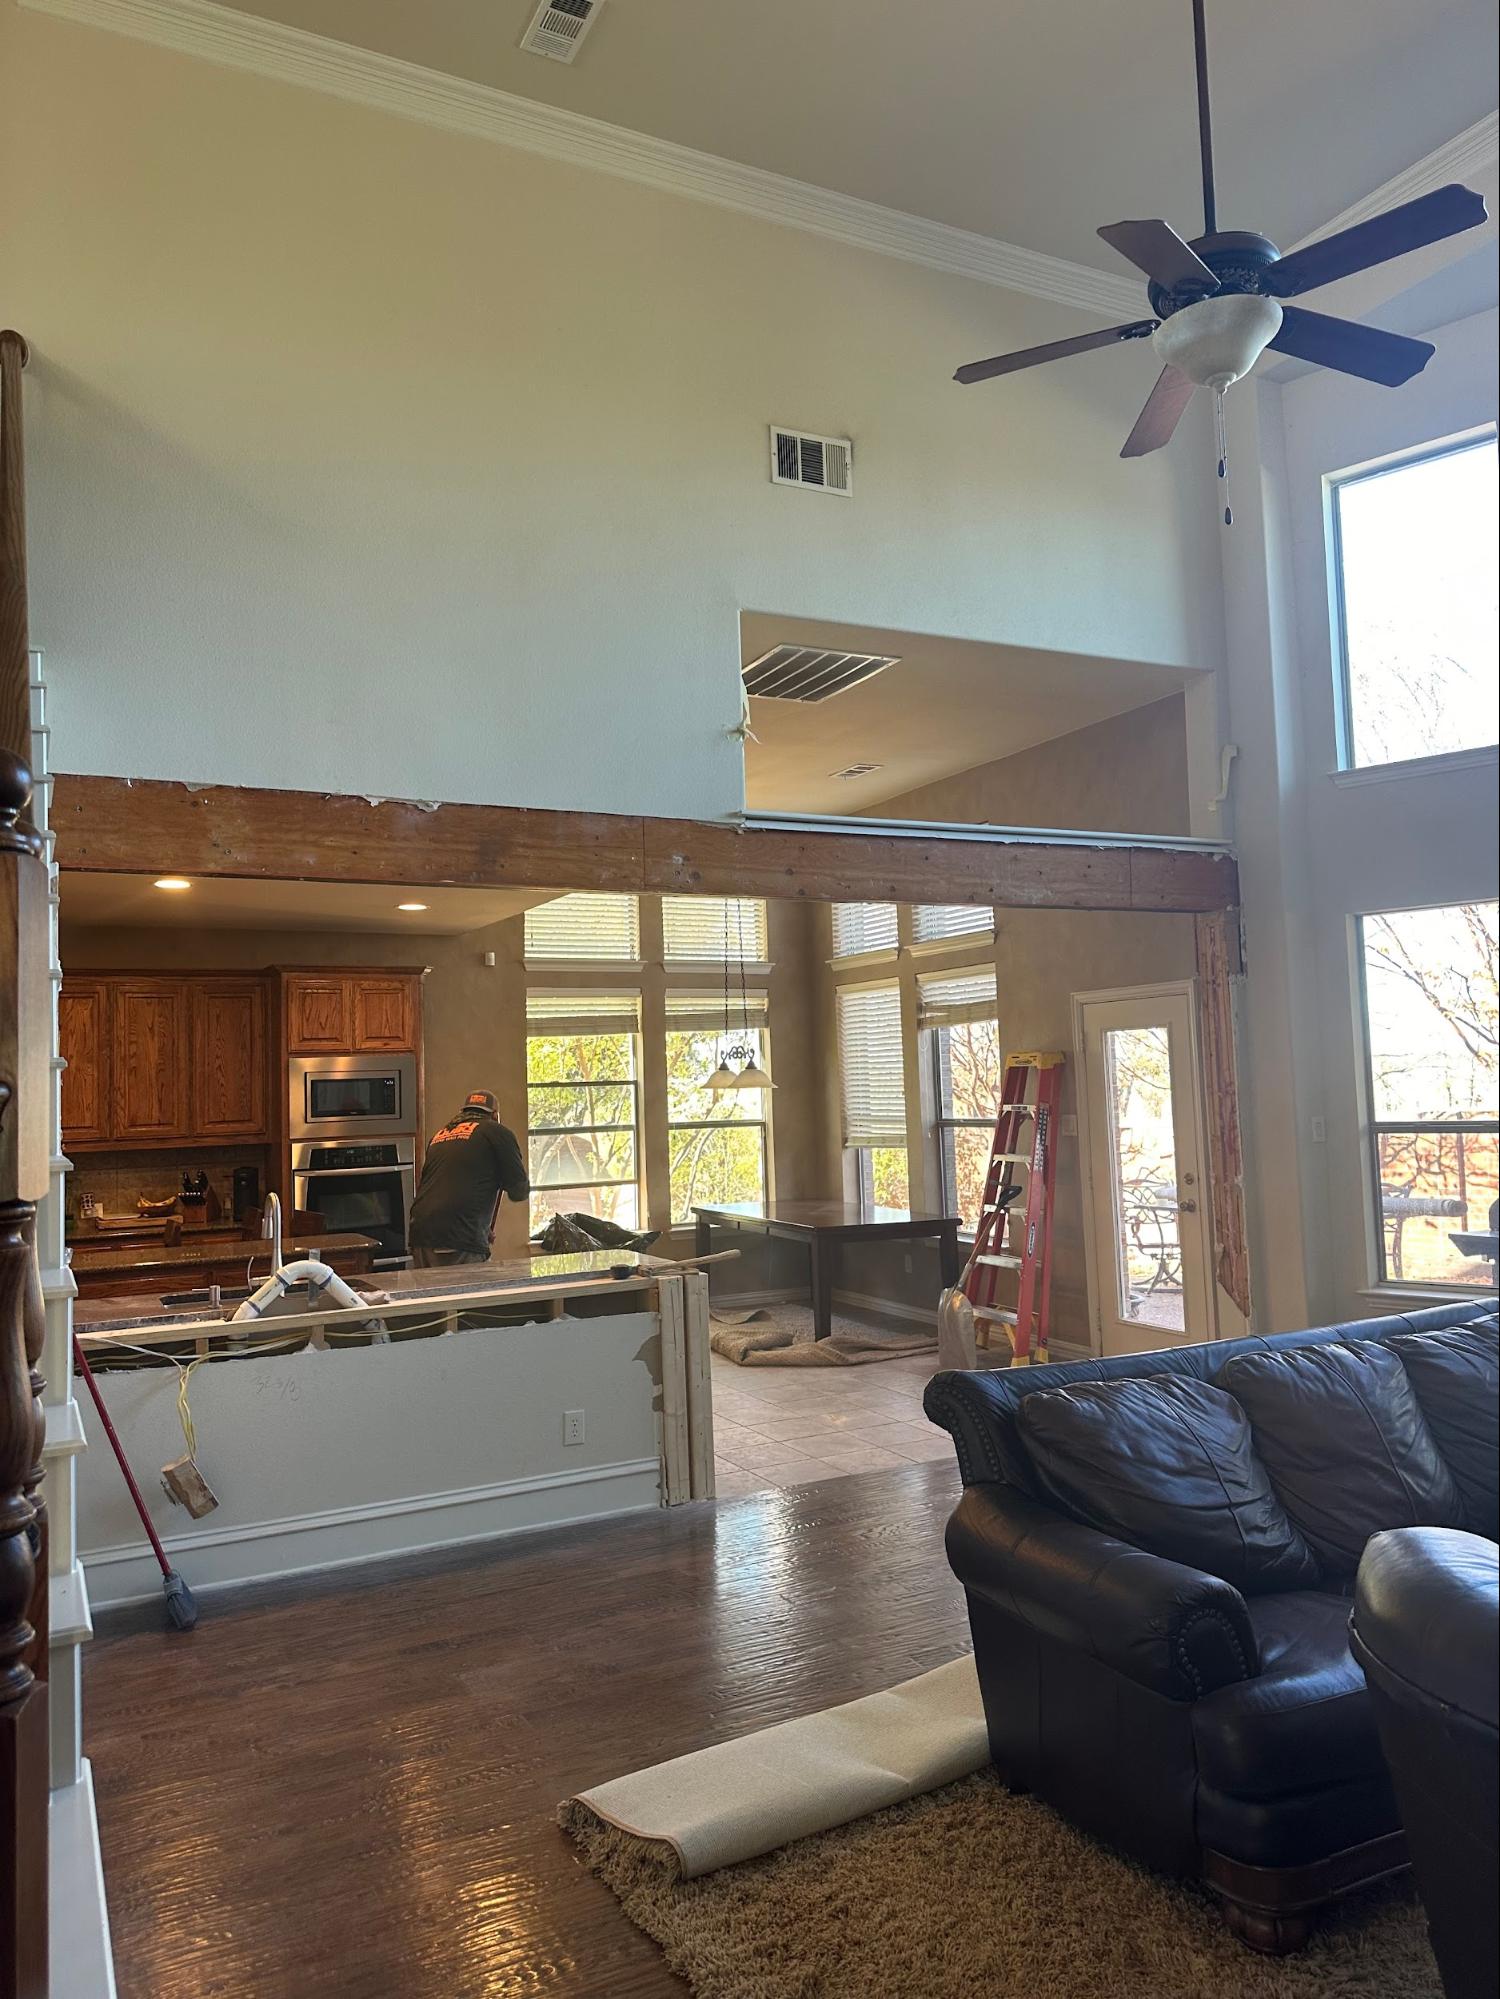

With Mario as the spearhead on this project, him and his crew showed up right at 8:30 and went to..."* -- Eric, Austin
Where the Money Goes (And Where You Can Save)
Let's crack open the budget and look at where your dollars actually land:
Foundation: $0 (you already have it). THIS is the biggest savings of patio conversion over new construction. A new room addition requires a poured foundation -- $5,000-$15,000 depending on size. Your patio slab already exists. That said, it may need moisture barrier work, leveling, or reinforcement for the new loads -- but that's a fraction of a new pour.
Roof: $0-$5,000 (if you already have a covered patio). Another major savings. If your patio already has a solid roof structure, you're skipping the most expensive component of new construction. If it's a lightweight pergola or no cover at all, budget for a proper roof.
Structural work: $3,000-$10,000. This is where Load Bearing Wall Pros comes in. The wall between your house and patio is likely an exterior load-bearing wall. Opening it up or modifying it for the new interior connection requires beam installation. Existing patio columns may need reinforcement. The whole thing needs engineering.
Windows: $3,000-$15,000. This is the biggest variable and the biggest opportunity for budget control. Builder-grade windows save money but sacrifice energy efficiency. Premium windows cost more but pay for themselves in lower HVAC bills -- especially in Texas heat.
HVAC: $2,000-$8,000. A ductless mini-split is the most cost-effective way to climate-control a converted patio. It's independent of your home's main system, installs in a day, and provides both heating and cooling. Extending your existing ductwork costs more but integrates with your home's central system.
Electrical: $1,000-$4,000. Outlets, switches, lighting, dedicated circuits. A licensed electrician handles this after the structural work is complete.
Interior finishing: $2,000-$10,000. Drywall, paint, flooring, trim. This is where you control the final look and feel.
The Money-Saving Moves
Keep the existing slab. Don't demolish and repour unless there's a structural reason. A moisture barrier and flooring overlay (luxury vinyl, tile, or engineered hardwood) cover most imperfections for a fraction of the cost.
Use a mini-split. Skip the HVAC ductwork extension. A wall-mounted mini-split is cheaper to install, more energy-efficient, and gives you independent zone control.
Phase the project. Do the structural work and basic enclosure now (walls, windows, insulation, electrical). Add the premium finishes later when budget allows. The structural foundation doesn't change regardless of finish level.
Match your neighborhood. In a $300K neighborhood, a $60K patio conversion won't return proportionally. Scale the investment to the market.
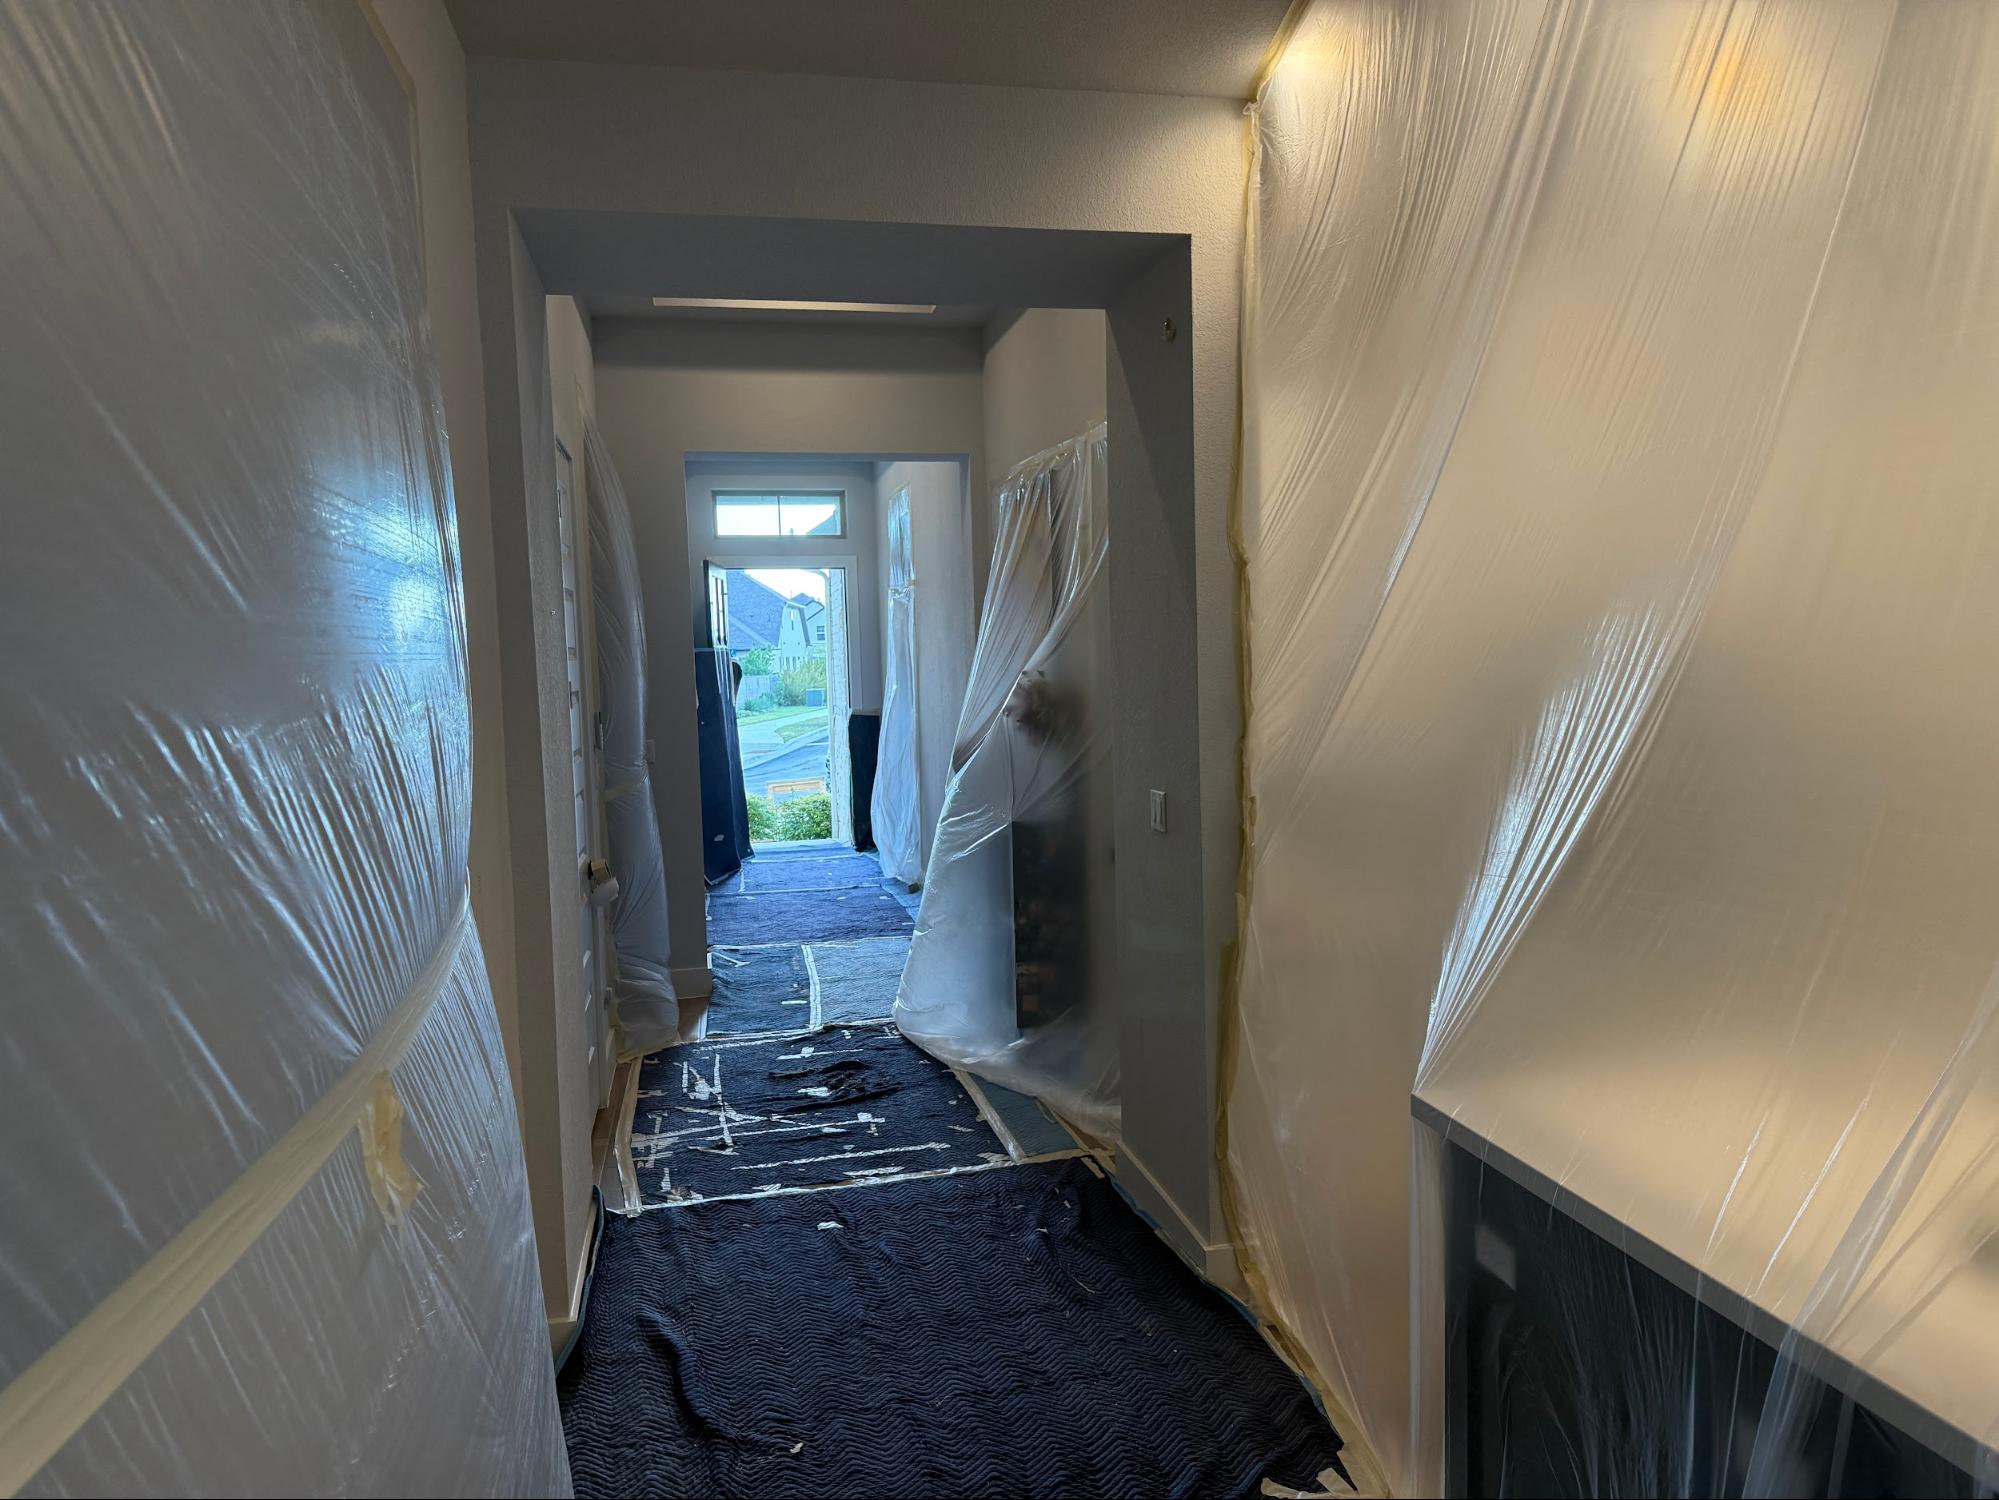
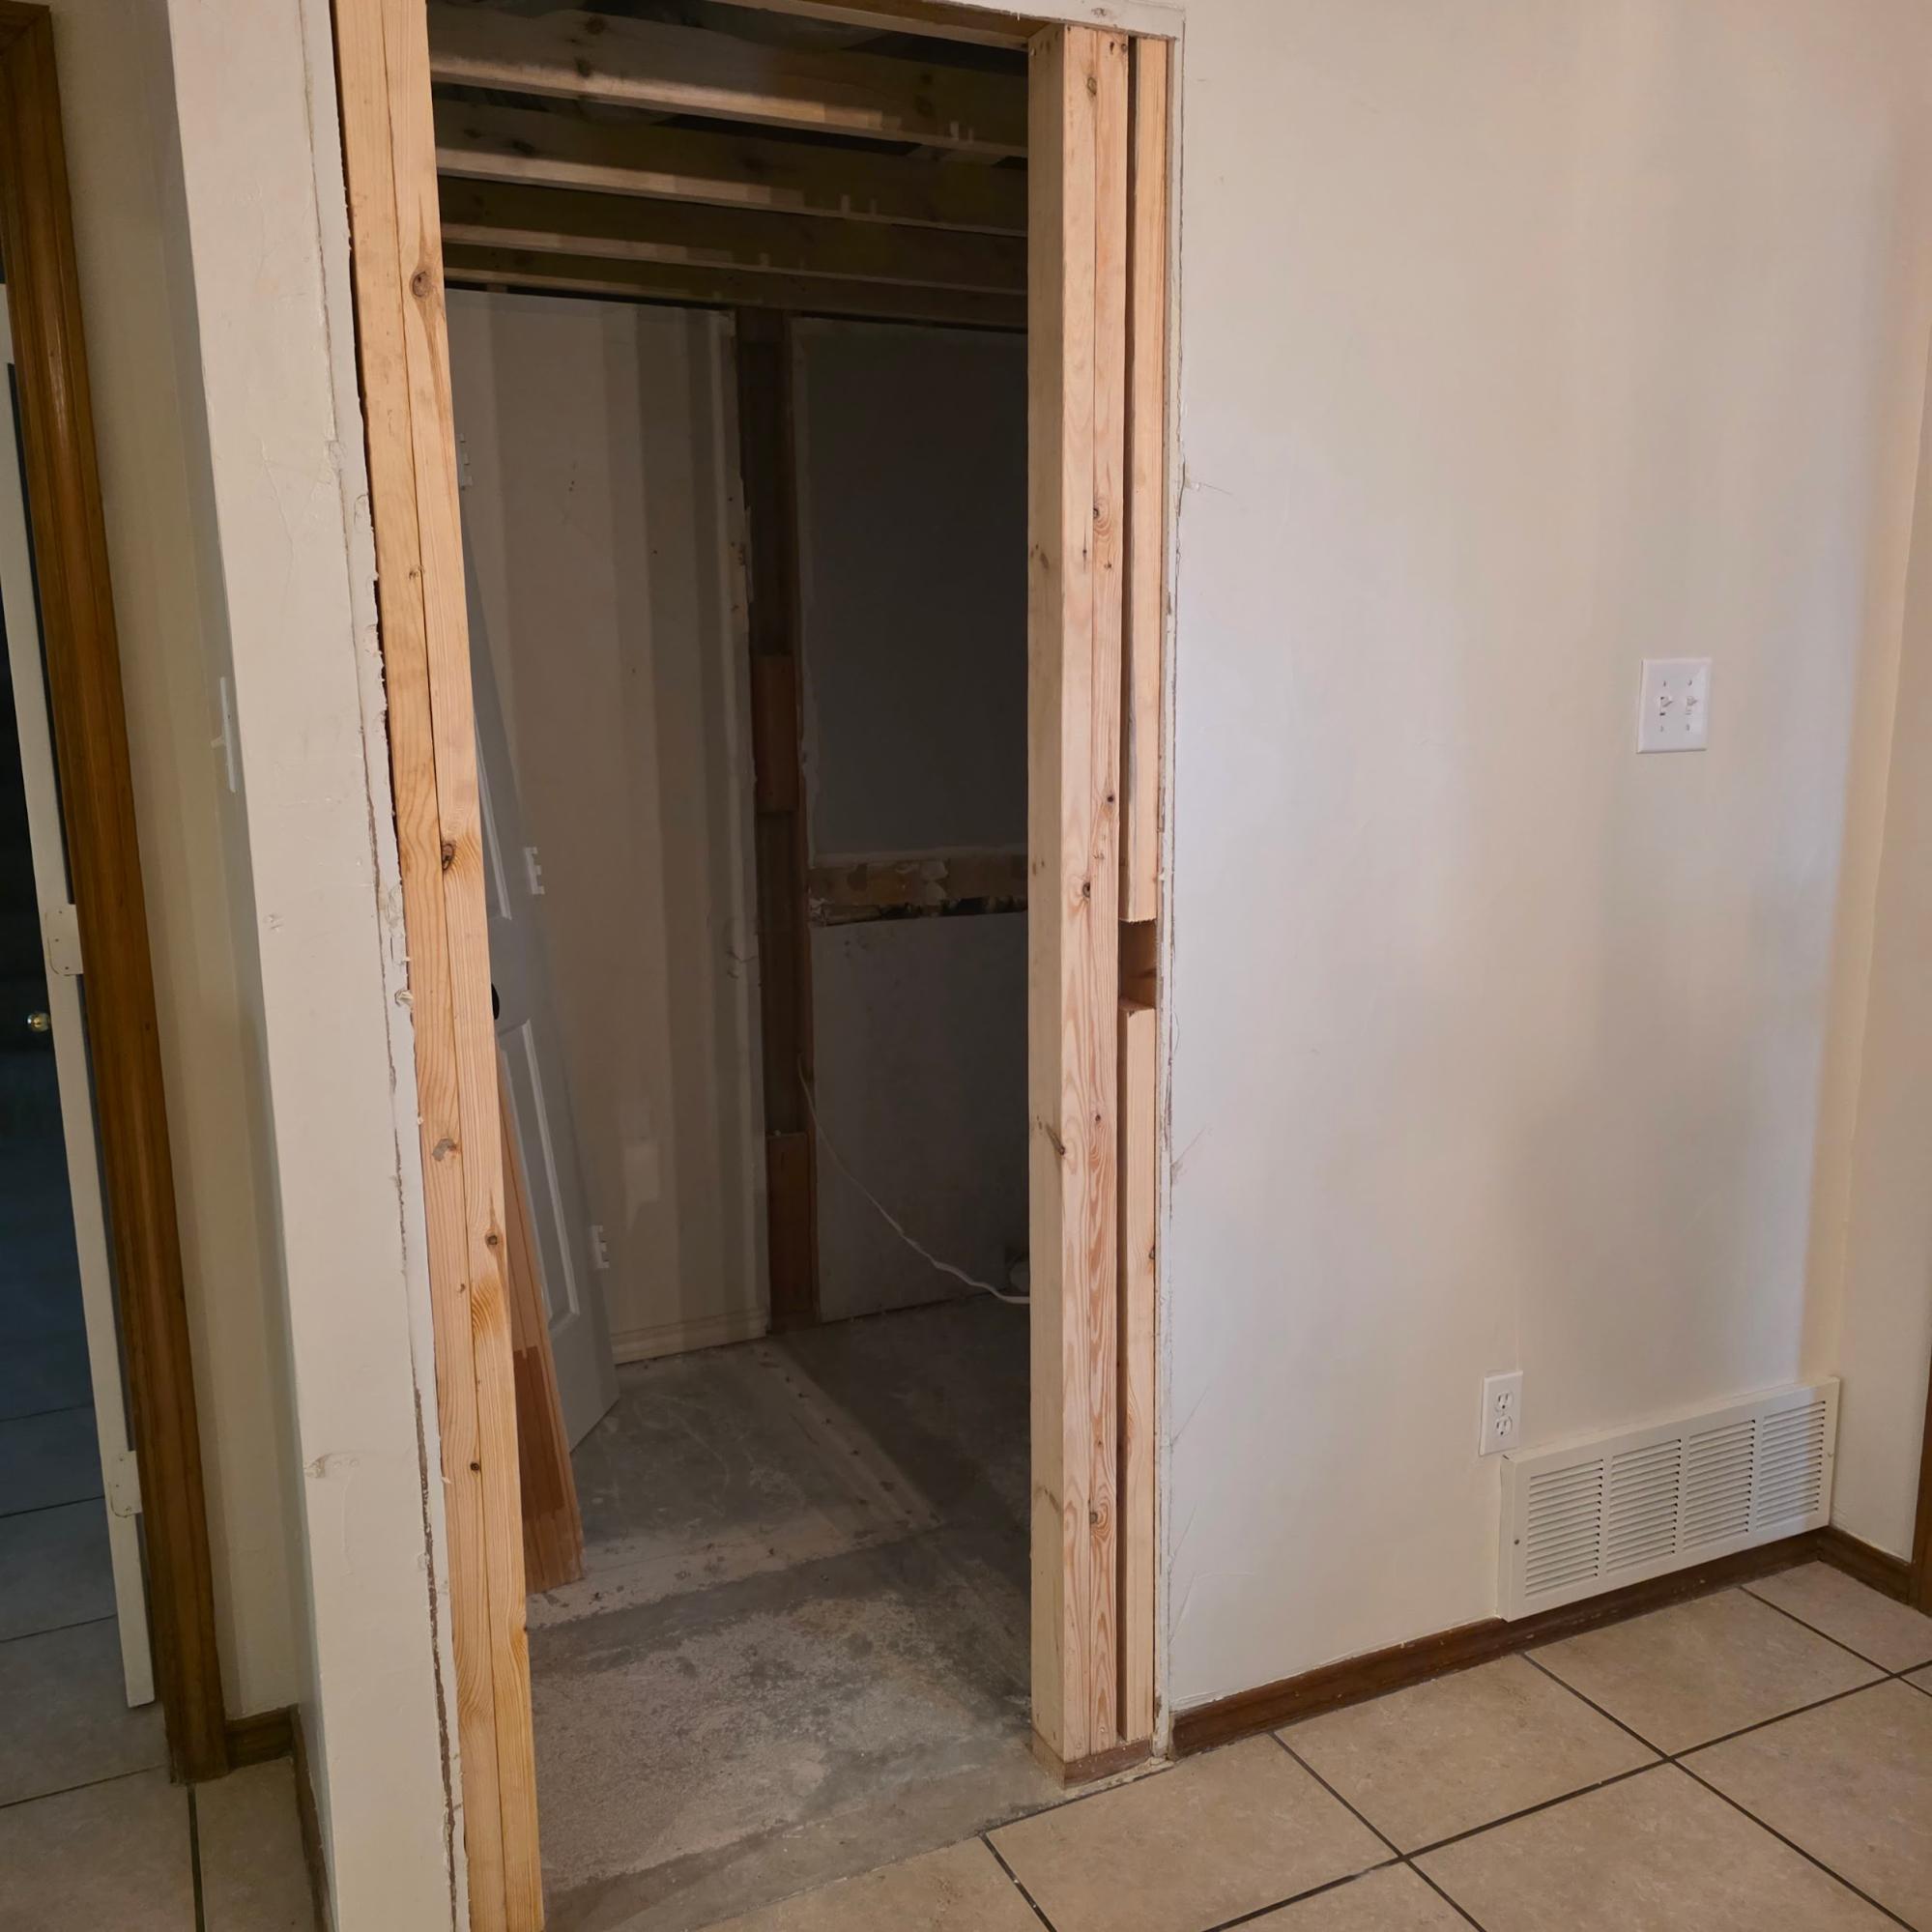
"Load Bearing Wall Pros demonstrated extremely high competency, efficiency, and were very pleasant and responsive in all our working together. I could not give them a better recommendation." -- Paul Staudacher
The Structural Phase: What We Do
When you convert a patio to a room, the structural work is the foundation (literally and figuratively) that everything else builds on. Here's our scope:
Exterior wall modification. The wall between your house and the patio needs to be opened up or removed so the new room connects seamlessly to the interior. If that wall is load-bearing (and exterior walls usually ARE), we install a beam to carry the load and create a wide, open connection.
Column and post assessment. Existing patio columns may be decorative, structural, or both. We determine which are carrying roof loads and ensure they're adequate for the new enclosed structure. If they need reinforcement or replacement, we handle it.
Engineering and load analysis. Our in-house PE, Mateo Galvez, analyzes every load path -- roof loads through the patio structure, wall loads at the connection point, foundation adequacy for the new use. Every calculation is specific to YOUR patio, not generic assumptions.
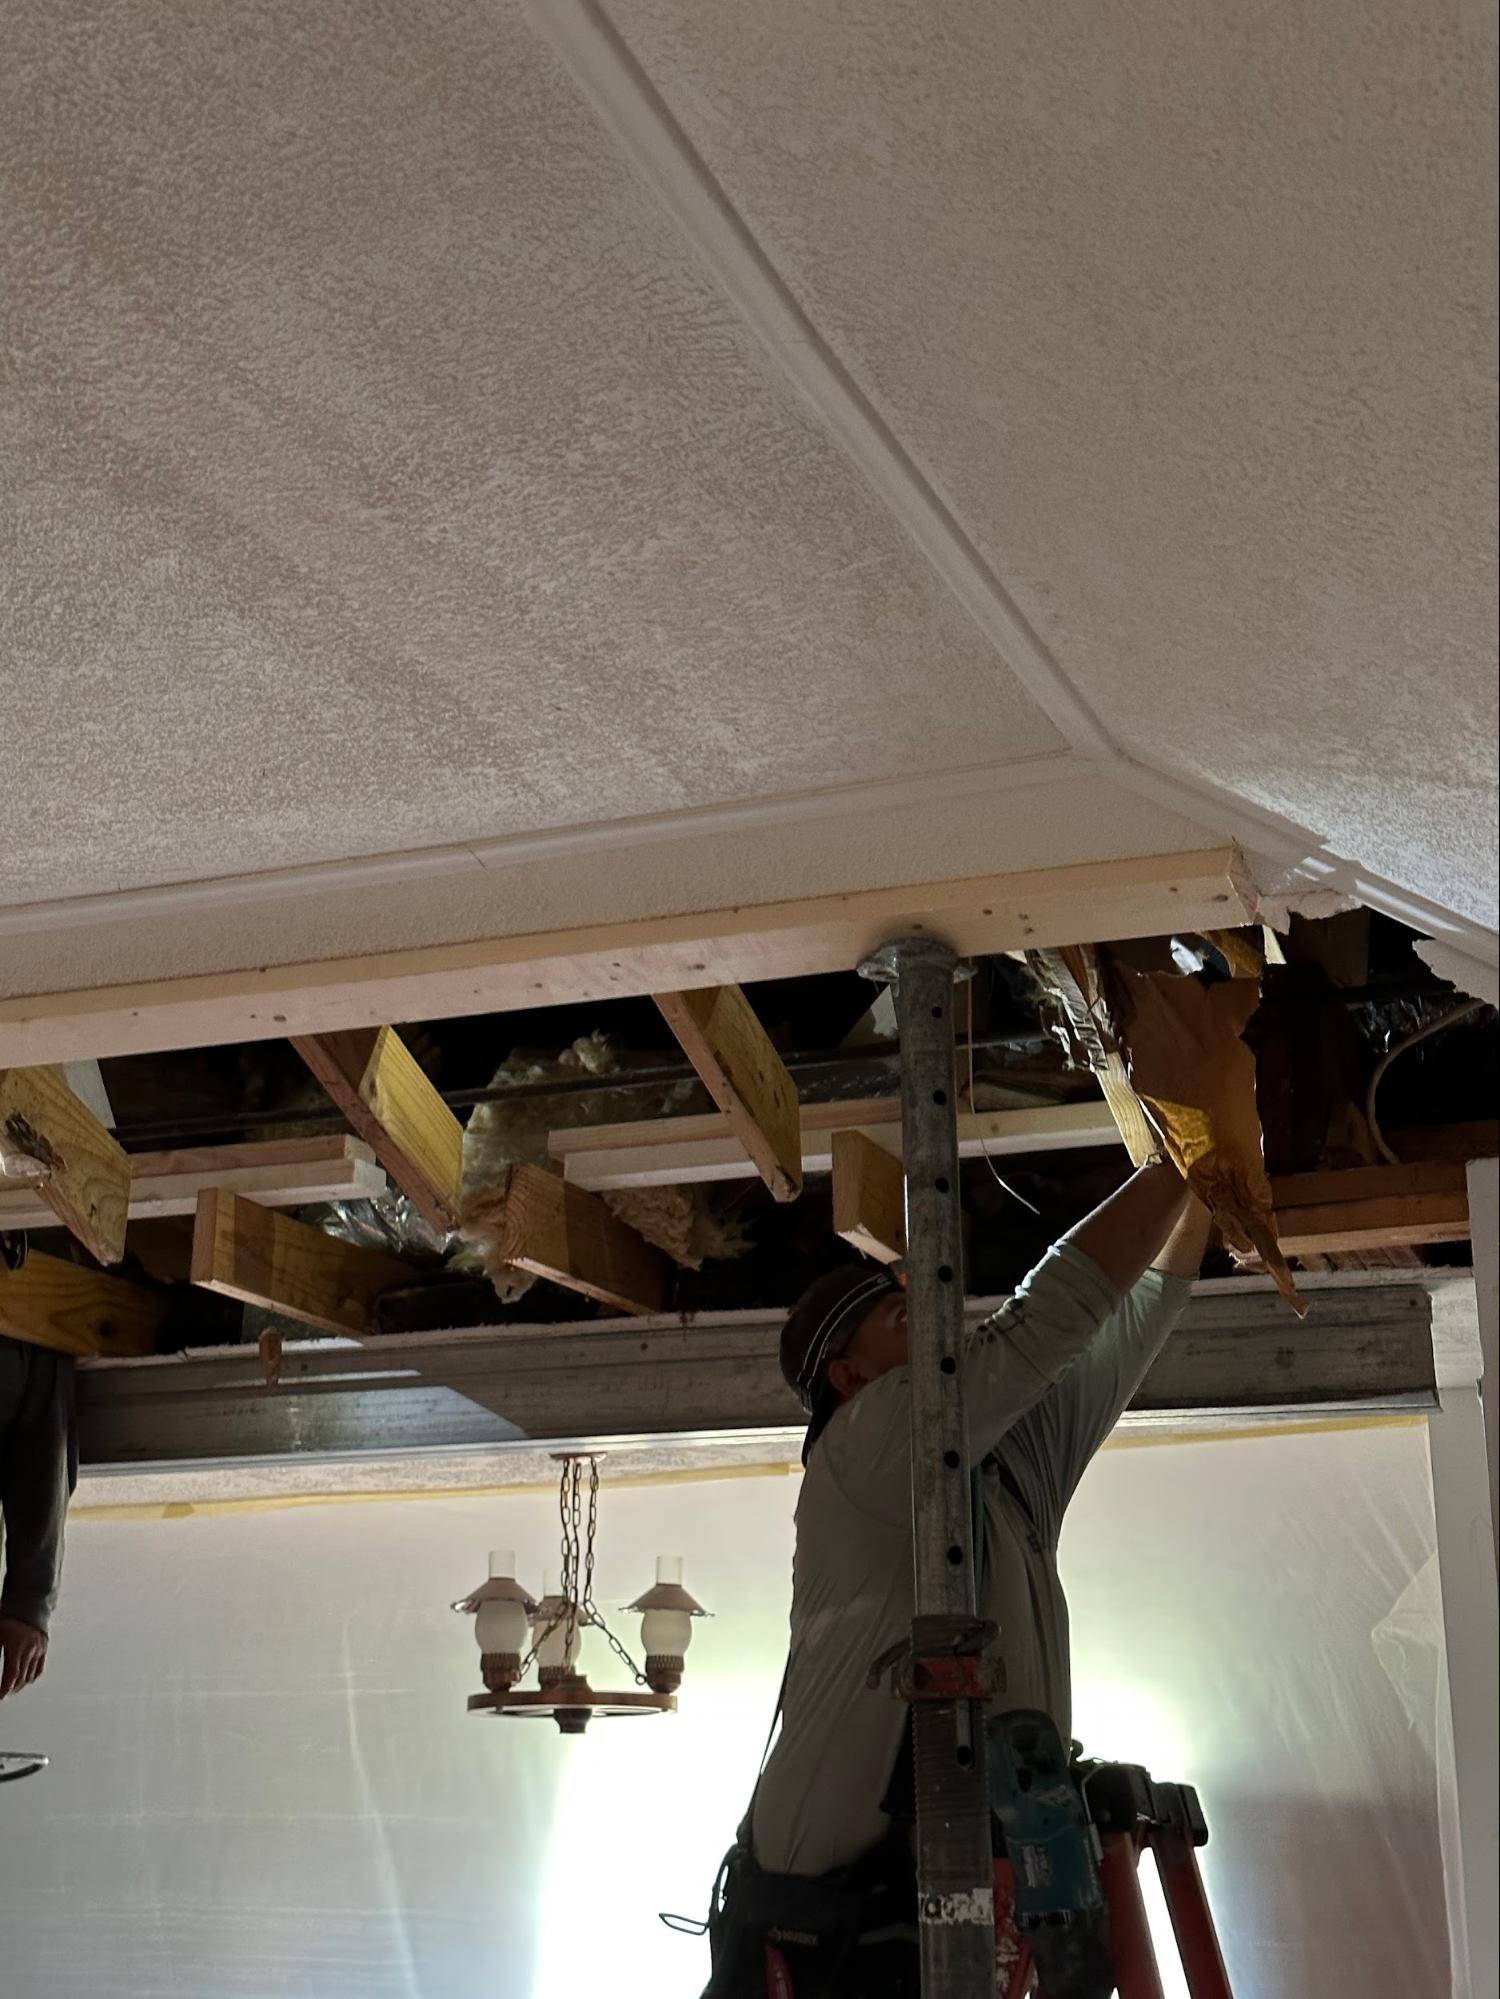
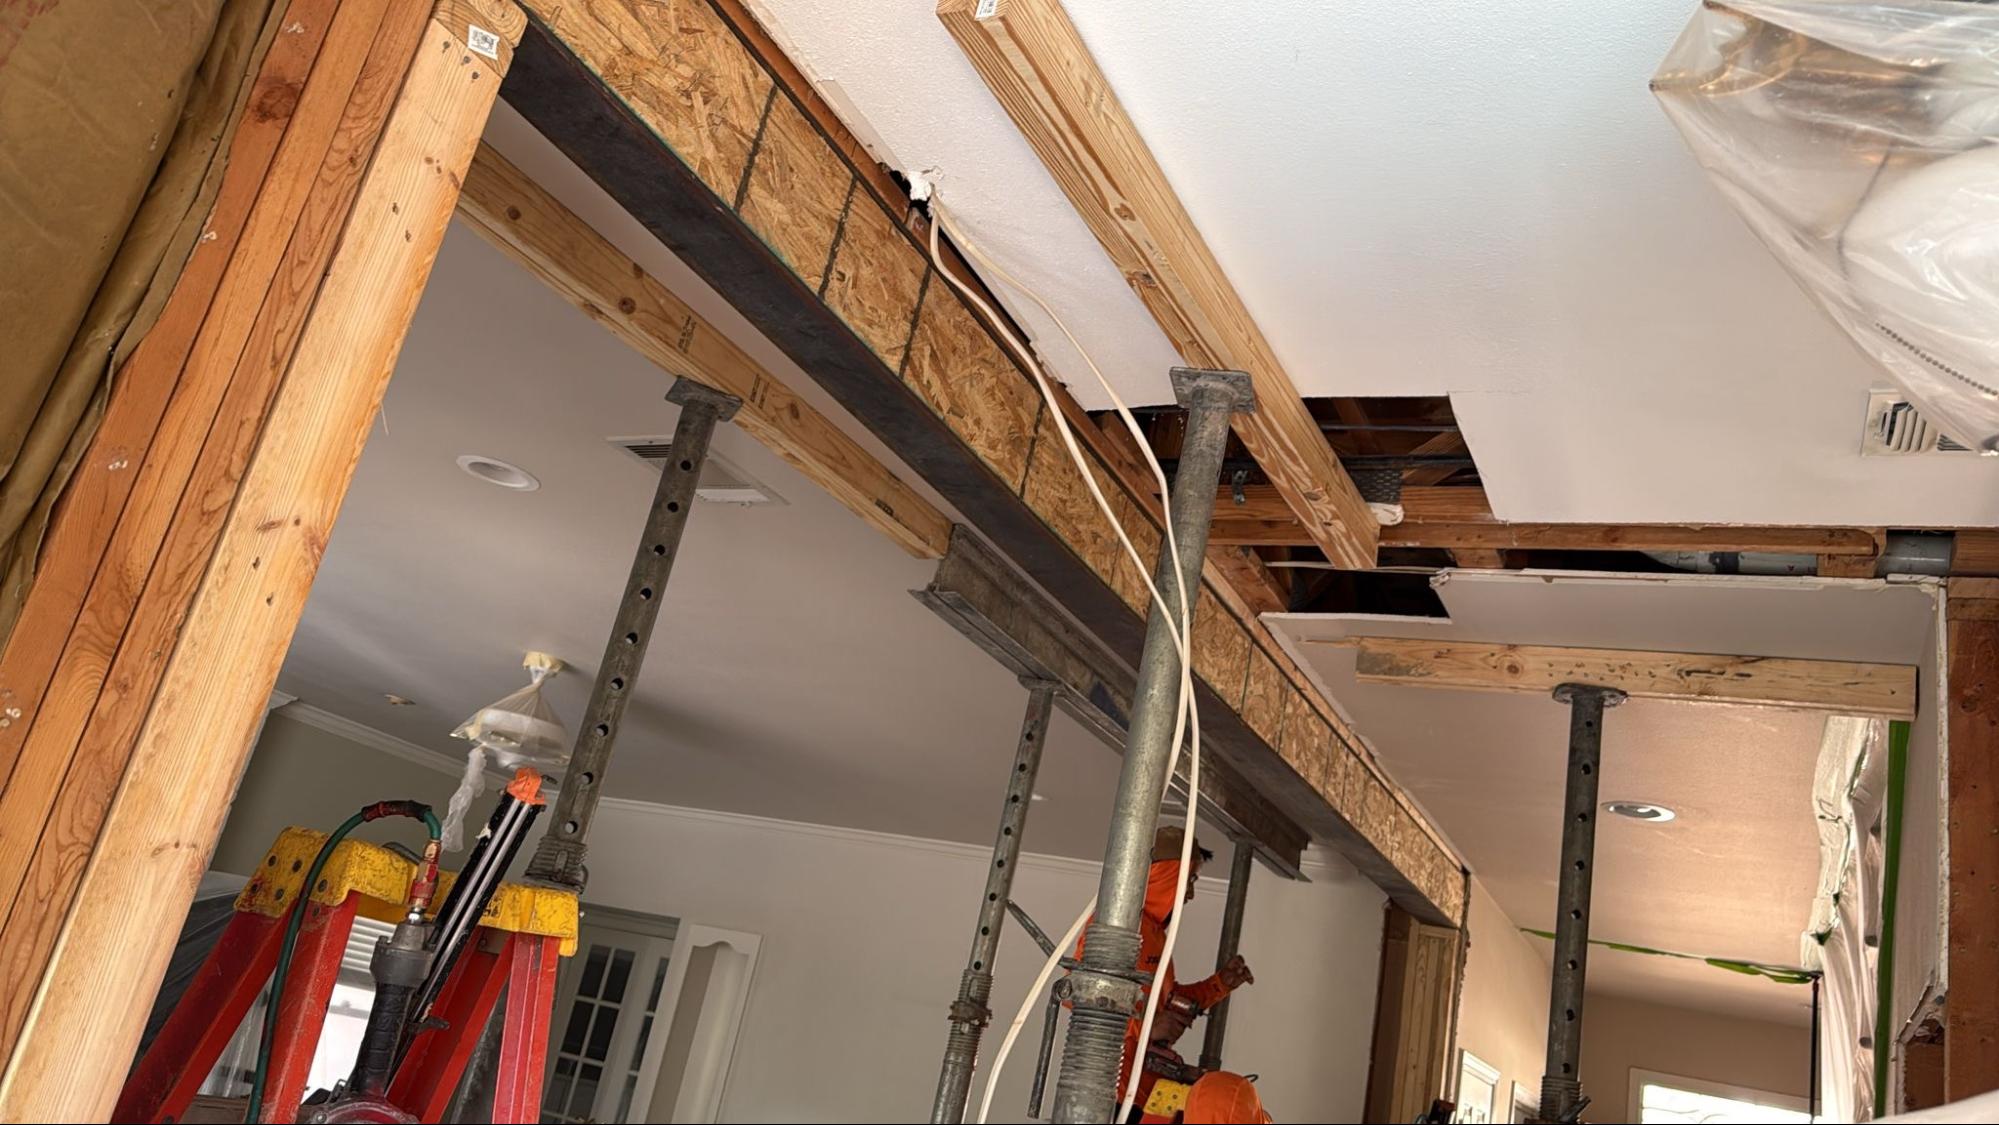
Temporary support. During the wall modification, temporary supports keep everything stable. We install them, do the structural work, and remove them -- all in a single day for the typical project.
One-day structural completion. The structural phase -- wall removal, beam installation, column work -- typically takes one day. Your finish trades can start the next day with a solid, engineered foundation to build on.
Common Patio Types in Texas (And What Each One Needs)
Covered concrete patio (most common). Concrete slab, roof supported by columns, attached to the house. This is the IDEAL candidate for conversion. Foundation exists, roof exists, connection point exists. Structural work focuses on the exterior wall modification and column adequacy.
Uncovered concrete patio. Slab exists but no roof. You'll need to add a roof structure before enclosing -- this adds significant cost and structural complexity. Still cheaper than a ground-up addition, but the savings margin narrows.
Pergola patio. A pergola is NOT a roof. It provides shade but no weather protection. Converting a pergola patio means replacing the pergola with a proper roof structure -- new rafters, decking, shingles, flashing, and structural connections.
Elevated deck/patio. Decks built above ground level (common on hillside lots in Austin) require different structural considerations. The deck framing needs to support enclosed-space loads, and the connection to the house happens at an elevated point rather than grade level.
The Timeline: From Parking Lot to Corner Office
- Week 1: Onsite evaluation and engineering (us)
- Week 2-3: Engineering completion and permit preparation
- Week 3-4: Structural work -- wall removal, beam installation (us, 1 day)
- Week 4-6: Utility reroutes -- electrical, plumbing, HVAC (your trades)
- Week 5-7: Insulation, windows, exterior closure (your trades)
- Week 6-8: Interior finishing -- drywall, flooring, paint, trim (your trades)
Total: 6-10 weeks from decision to done, depending on permit timelines and finish scope.
Frequently Asked Questions
Can I convert my patio without a permit?
No. Converting outdoor space to conditioned living space requires permits -- structural, electrical, mechanical, and possibly plumbing. Unpermitted work creates liability and resale problems.
Will my existing HVAC system handle the extra space?
Maybe, but often not without modification. Adding a room's worth of conditioned space to an existing system may overtax it. A dedicated mini-split is usually the smarter play.
Does a patio conversion count as added square footage?
If built to code -- insulated, climate-controlled, on an adequate foundation, and properly permitted -- yes. This increases your home's appraised value.
What if my patio slab has cracks?
Minor cracks are normal and don't affect conversion. Major cracks or significant settlement may require repair. We assess the slab during the structural evaluation.
Can I do the structural work myself?
No. Modifying load-bearing walls and installing structural beams requires engineering and professional installation. This isn't a DIY scope -- it's licensed structural work.
How much will this increase my property taxes?
Adding permitted conditioned square footage increases your home's assessed value, which may increase property taxes. The amount varies by appraisal district. In most Texas markets, the value increase far outweighs the tax increase.
---
What Our Customers Say
⭐️⭐️⭐️⭐️⭐️ "Excellent job by Load Bearing Wall Pro! They removed the wall between our family room and breakfast area and did amazing work. Professional, clean, and the space looks incredible. Highly recommend!" -- sabs Design, Plano
⭐️⭐️⭐️⭐️⭐️ *"I finally did it and SO happy I did!
Load Bearing Wall Pros removed the column between my kitchen and family room and also lowered the counter top bar. The kitchen looks brighter, space seems ..."* -- Shokran Habbas, Plano
⭐️⭐️⭐️⭐️⭐️ "We used this company to combine a pantry, coat closet, and wet bar into a walk-in pantry. Because of its location, we wanted to be sure it was done with a company that specialized in load bearing spaces." -- Sandy, Plano
---
Your patio has earned the promotion. Schedule your free onsite estimate and let's get it the corner office it deserves.
Load Bearing Wall Pros | 12,000+ walls removed since 2015 | 4.9★ from 1,100+ reviews
DFW: 469.813.8143 | Houston: 713.322.3908 | Austin: 512.641.9555